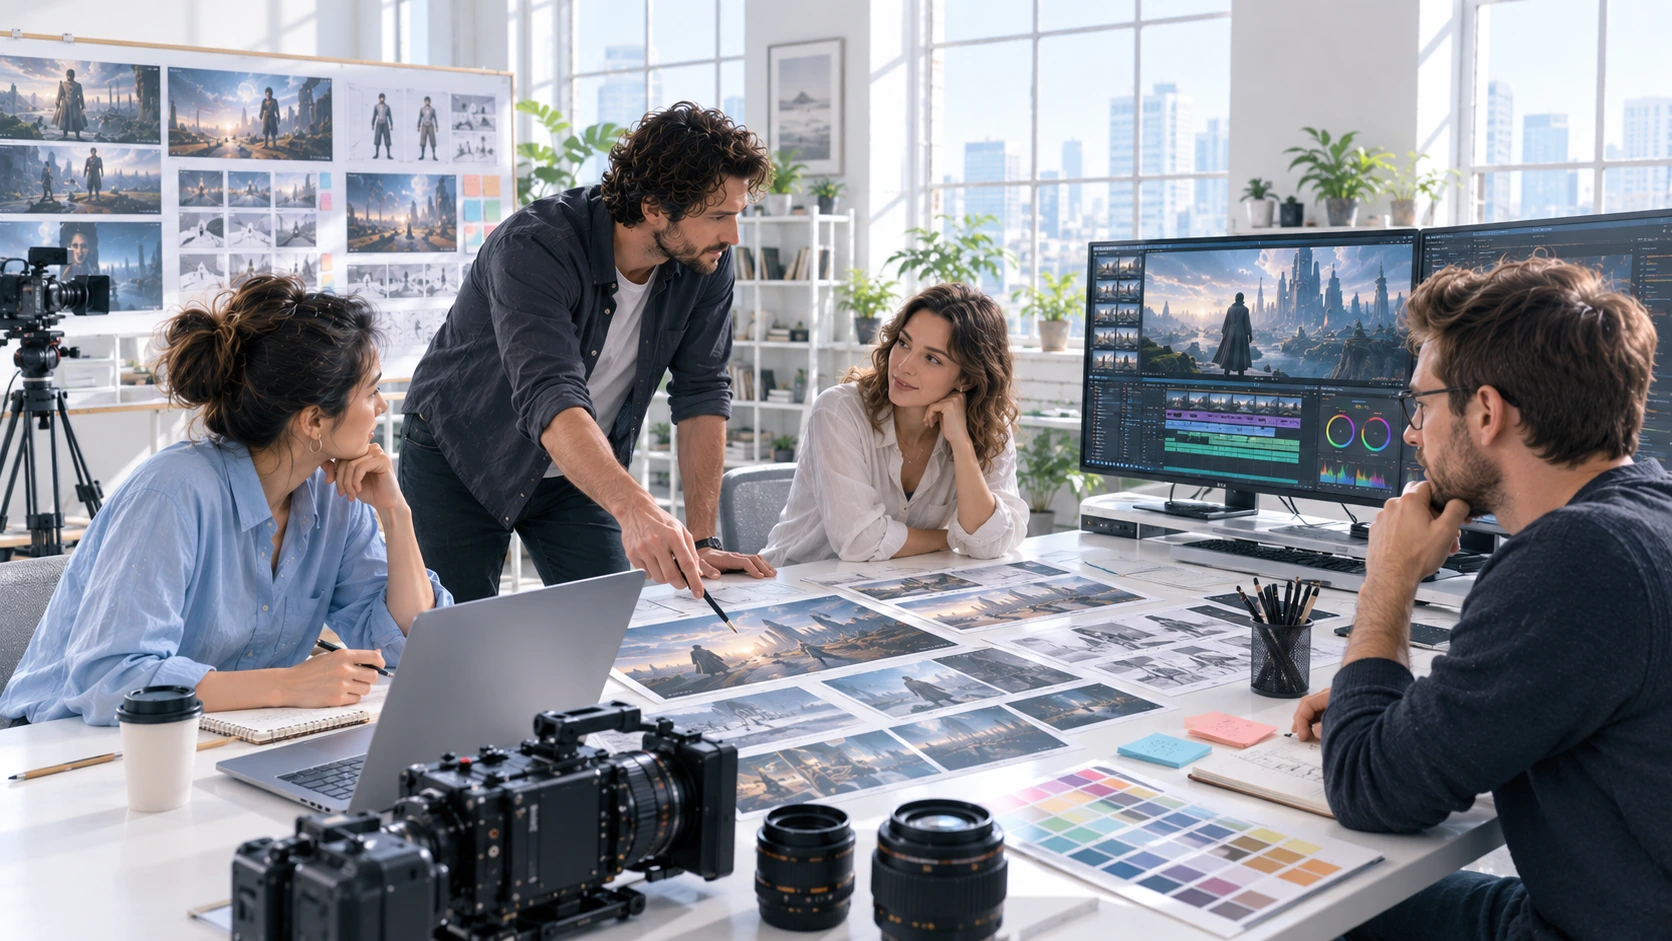
How to Make an AI Music Video: A Production Workflow for Artists
This guide gives artists a clear, production-friendly workflow to turn a finished track into an AI music video: prepare stems and a creative brief, map music to scenes, proof visual styles, generate and composite render passes, then edit, grade and master. It explains what you can do yourself and when a studio production is worth hiring.
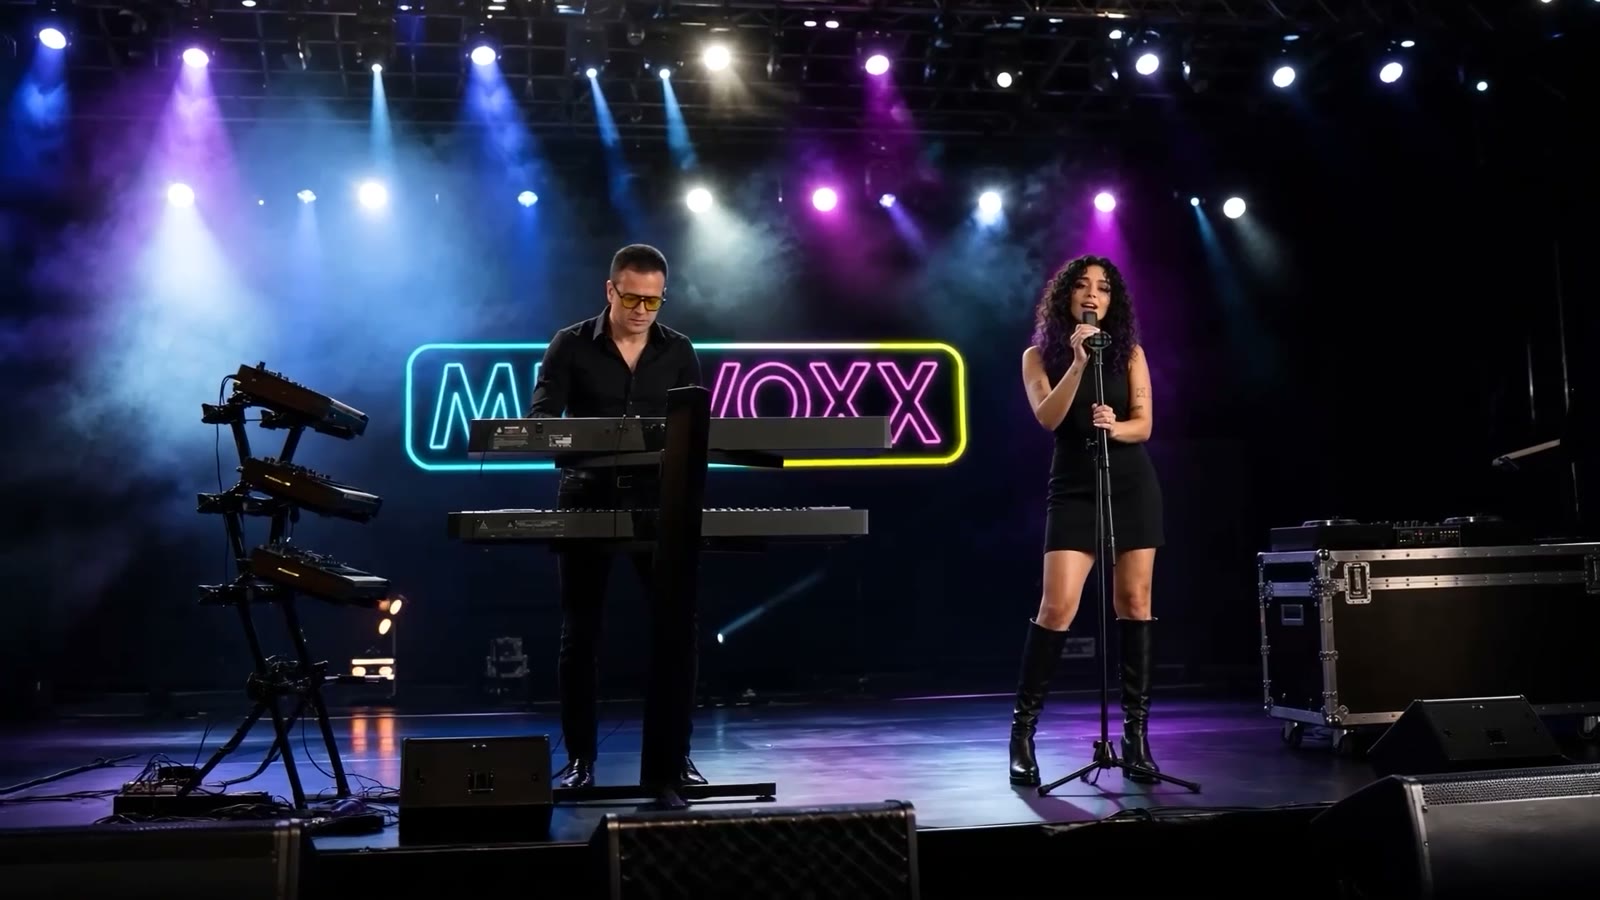
Quick overview (from track to master)
- Prep the audio and brief.
- Timecode map the track and break into scenes.
- Create a storyboard, moodboard and style frames.
- Run small generator tests and technical proofs.
- Produce scenes as render passes and composite.
- Offline edit, color grade and finish audio/master.
- QC and export platform-specific deliverables.
Below is a practical, step-by-step workflow with production tips and decisions that separate self-serve projects from a studio-led production.
Step 1 — Prepare your track and creative brief
- Export a stereo WAV (44.1–48 kHz) and stems if possible (vocals, drums, bass, FX). Stems let editors and sound designers adjust levels during the final mix.
- Note BPM, song structure (intro, verse, chorus), key, and spoken lyrics/timecodes.
- Write a one‑page creative brief: mood, references (three visual references), target platforms, primary aspect ratio, and whether you want performer likeness or abstract visuals.
Why stems matter: audio-reactive visuals and precise cut points are far easier when you have separate elements.
Step 2 — Timecode map & scene breakdown
- Create a timecoded beat map (e.g., 0:00–0:15 — opening shot). Mark major transitions and lyric hits.
- Break the song into 4–12 scenes depending on length. Each scene should have a clear emotional arc and visual anchor.
Deliverable: a one-page scene list with start/end times and a short visual direction for each scene.
Step 3 — Storyboard, moodboard and style frames
- Convert the scene list into a simple storyboard: 1–3 frames per scene with camera ideas and key beats.
- Make a moodboard of color, lighting, wardrobe (if using a performer), and a small style-frame set for the main scenes.
Studio note: a production studio will build polished style frames and technical notes (lighting, continuity, reference LUTs) so visual continuity is repeatable across AI generator runs.
Step 4 — Generator tests and technical proofs
- Run short tests (3–10 seconds) for each distinct style direction. Test variations for framing, scale, motion and facial/character consistency if needed.
- Save prompts, seeds and scheduler settings so you can reproduce successful tests.
Self-serve vs Studio: Self-serve producers often iterate in a generator UI and accept imperfect continuity. A studio will lock settings, create negative prompts, and generate controlled render passes for compositing and continuity.
Step 5 — Generate deliverable render passes
- For each scene generate multiple passes where applicable: beauty render, matte/alpha, depth, motion vectors, and noise/grain layers.
- Export each pass at the target resolution and frame rate. Keep frame sequence naming strict for compositing.
Why passes: compositing and consistent color grading require separate passes for control over exposure, blur and effects.
Step 6 — Compositing and continuity
- Composite generated passes in a timeline: align pixel motion, fix artifacts, stabilize frames and track any required CG camera moves.
- Use tracking or AI inpainting to correct faces or continuity issues between frames.
Studio benefit: human compositors maintain character continuity across scenes and apply consistent lighting, which is harder to achieve in ad-hoc self-serve runs.
Step 7 — Assemble edit, grade and audio finishing
- Do an offline assembly first (lightweight proxies), then bring in high-res assets for final conform.
- Color grade using your locked LUTs and ensure consistent skin tones and color balance across scenes.
- Final audio mix: blend stems, apply final mastering chain, and export a master WAV alongside deliverable AAC/MP4 video.
Deliverables: ProRes or DNxHR master, H.264/H.265 delivery copies, WAV master, and platform-sized exports (vertical for Reels/TikTok, 16:9 for YouTube).
Step 8 — Quality control and legal checks
- QC every frame at 100% pixel view for artifacts, glitches, text legibility and lip-sync accuracy.
- If using a performer likeness or sampled material, confirm rights and releases. Likeness and copyright rules differ by jurisdiction — seek legal advice when needed.
When to DIY vs hire a studio
- Do-it-yourself: short visualizers, experimental or low-budget clips, social snippets where continuity and perfection aren’t essential.
- Hire a studio: full-length narrative videos, artist likenesses, tight brand specs, multi-version deliverables, or when you need reliable, repeatable visual continuity and high production polish.
Leopati is an Istanbul-based worldwide AI creative studio that offers studio-led production pipelines for artists who want a collaborative, repeatable approach rather than a self-serve generator experience.
Quick technical checklist
- Audio: WAV master + stems.
- Frame rate/aspect ratio: decided before generation.
- File naming: scene01_render_v001_####.exr or .png sequences.
- Master: ProRes/DNxHR + 24/48/96kHz WAV.
Internal links for further reading: see our AI Music Video Production cluster and Cost guide for budgeting and scope details. For pipeline details, review our Workflow and Artist Likeness pages.
CTA
Ready to produce a finished AI music video? Send us your track and a short brief — Send us your track
FAQs
How long does an AI music video project take?
Timelines depend on complexity. A simple social visualizer can be produced in days with self-serve tools; a studio-grade music video with multi-scene continuity and compositing is usually planned in weeks. Use the scene count and required compositing as your timeline driver.
Do I need stems or is a stereo track enough?
You can start with a stereo track, but stems give editors and sound designers flexibility for mixes, dynamic audio-reactive effects, and last-minute changes. Stems are strongly recommended for studio productions.
Who owns the visuals generated by AI?
Ownership and copyright for AI-generated visuals depend on the generator’s terms, the data used, and local law. If you plan to commercialize or use performer likenesses, get legal clearance and confirm generator licensing before release.
Can I use an AI generator and still get a consistent character across scenes?
Yes, but maintaining consistent characters across scenes usually requires controlled prompts, locked seeds, high-quality style frames and post-generation compositing. This is where a studio pipeline typically outperforms ad-hoc self-serve generation.
Frequently asked questions
How long does an AI music video project take?
Timelines depend on complexity. A simple social visualizer can be produced in days with self-serve tools; a studio-grade music video with multi-scene continuity and compositing is usually planned in weeks. Use the scene count and required compositing as your timeline driver.
Do I need stems or is a stereo track enough?
You can start with a stereo track, but stems give editors and sound designers flexibility for mixes, dynamic audio-reactive effects, and last-minute changes. Stems are strongly recommended for studio productions.
Who owns the visuals generated by AI?
Ownership and copyright for AI-generated visuals depend on the generator's terms, the data used, and local law. If you plan to commercialize or use performer likenesses, get legal clearance and confirm generator licensing before release.
Can I use an AI generator and still get a consistent character across scenes?
Yes, but maintaining consistent characters across scenes usually requires controlled prompts, locked seeds, high-quality style frames and post-generation compositing. This is where a studio pipeline typically outperforms ad-hoc self-serve generation.